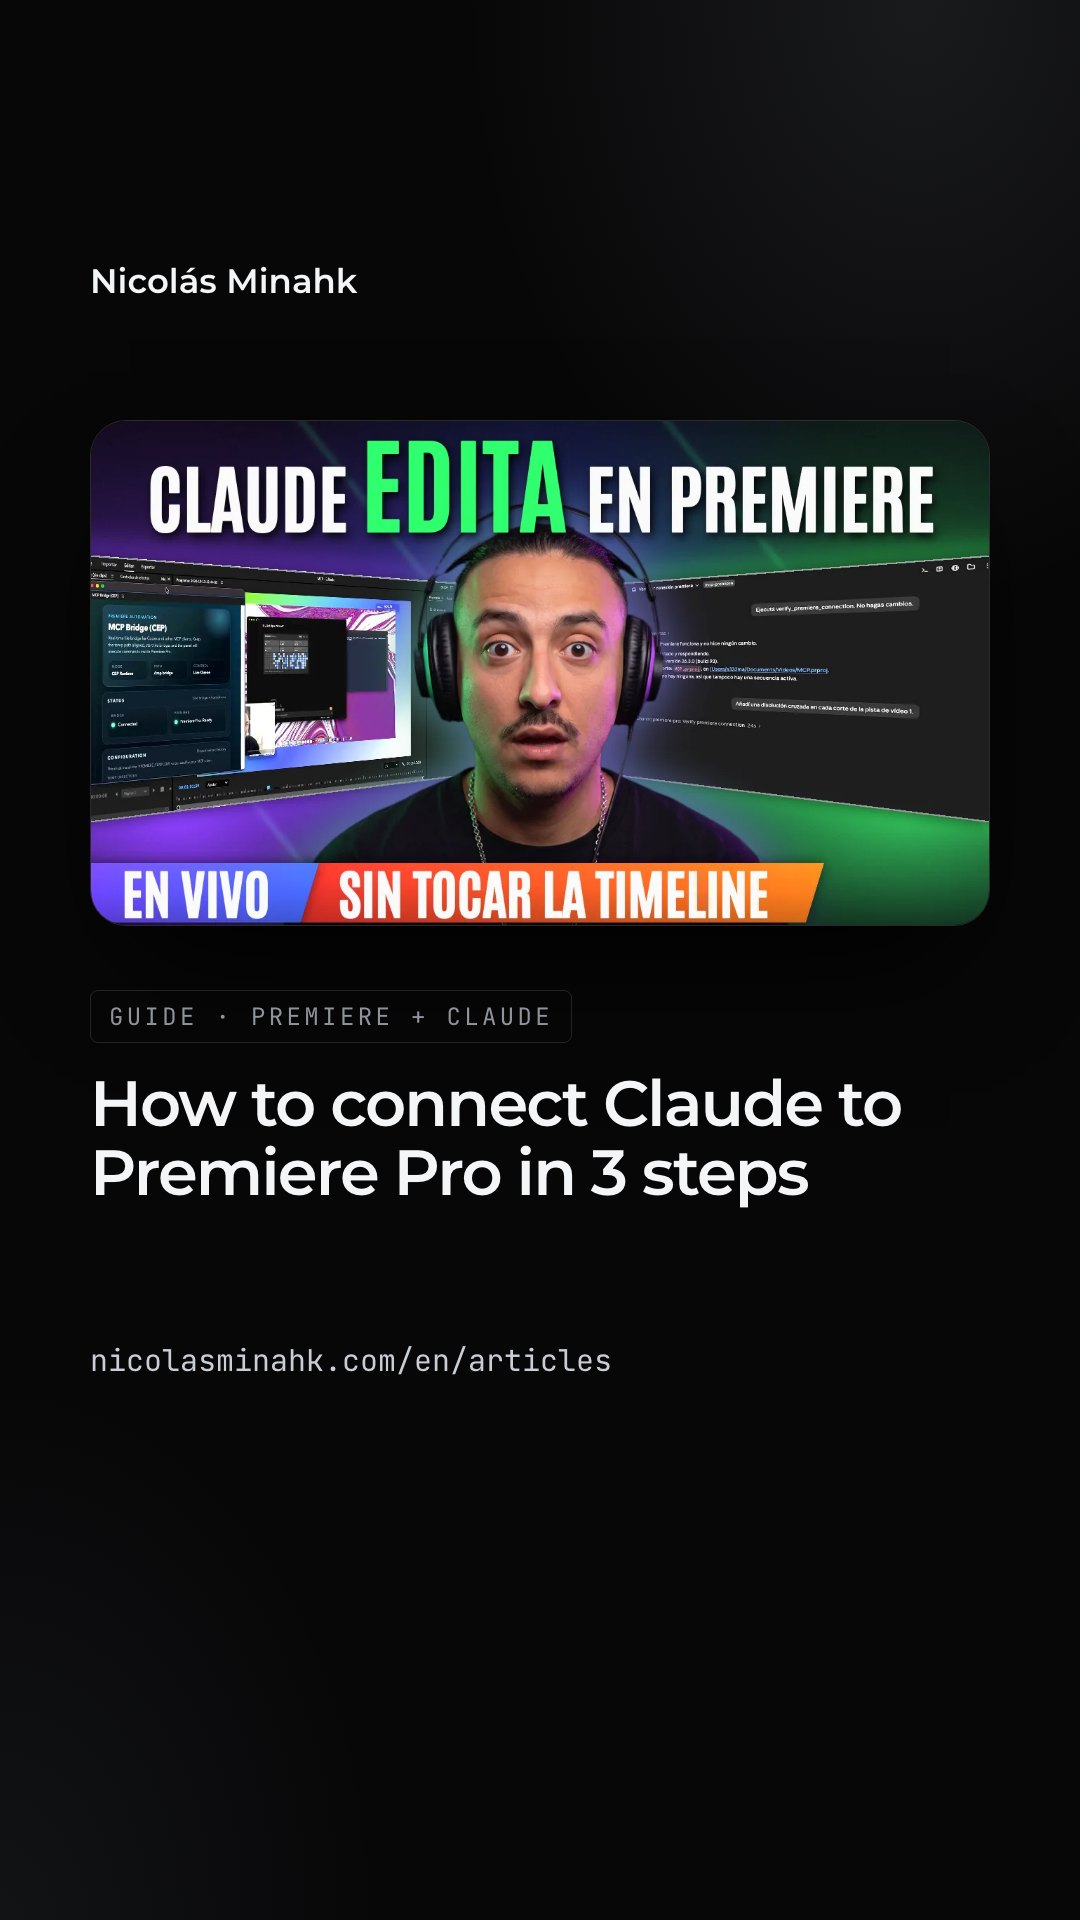
How to connect Claude to Premiere Pro in 3 steps (MCP, step by step)
Two Terminal commands and one panel inside Premiere are all it takes for Claude to connect to your project and edit the timeline from the chat: ask for cross dissolves or a black-and-white clip and they show up in your sequence. Here are all the commands, the test, and what didn't go well.
An MCP connector (a protocol that gives Claude access to external tools) acts as a plug between Claude and Premiere Pro: Claude reads your project and runs editing actions inside the timeline, such as cross dissolves or turning a clip black and white. You connect it in three steps: install the connector with npm, run premiere-pro-mcp --install-cep (it installs the panel in Premiere and configures Claude Desktop on its own) and turn on the bridge from Window › Extensions › MCP Bridge (CEP). You need Premiere Pro 2020 or later, Node.js 20 or later and Claude Desktop; I tested it on Mac, and the process may differ on Windows.
What you need
Three things, all on the same Mac:
- Premiere Pro 2020 or later.
- Node.js 20 or later. To check your version, open Terminal and type:
node -v - Claude Desktop, Claude's desktop app.
If node -v returns a version below 20, or an error, install Node.js from nodejs.org before moving on.
Step 1 · Install the connector
This whole step happens in Terminal.
Before installing, there's one line worth running once. It tells npm to install global packages into a folder you own, so you don't hit the EACCES permissions error (or get asked for your password over and over):
mkdir -p ~/.npm-global && npm config set prefix ~/.npm-global && echo 'export PATH="$HOME/.npm-global/bin:$PATH"' >> ~/.zshrc && source ~/.zshrcNow install the connector:
npm install -g adobe-premiere-pro-mcpIt takes a few seconds. When it's done you'll see something like “added 13 packages”. The connector is now on your Mac.
If Terminal isn't your thing, you can also ask Claude Code to do this step: give it the repository link and ask it to install it. Still, I'd recommend doing it by hand at least once, so you see which errors come up and why.
Step 2 · Connect Premiere and Claude
Still in Terminal. This command installs the panel inside Premiere Pro and configures Claude Desktop on its own, without you editing any file:
premiere-pro-mcp --install-cepThen run the check:
premiere-pro-mcp --doctor--doctor makes sure everything is in place: Node.js is available, the MCP server and the Premiere extension are installed, the bridge's temp folder exists, and Claude Desktop's config has the premiere-pro entry. If all is well, it ends with “Doctor check passed”.
Once the check passes, quit Premiere and Claude Desktop and open them again, so both pick up the new configuration.
Step 3 · Turn on the bridge
Open Premiere Pro and go to:
Window › Extensions › MCP Bridge (CEP)
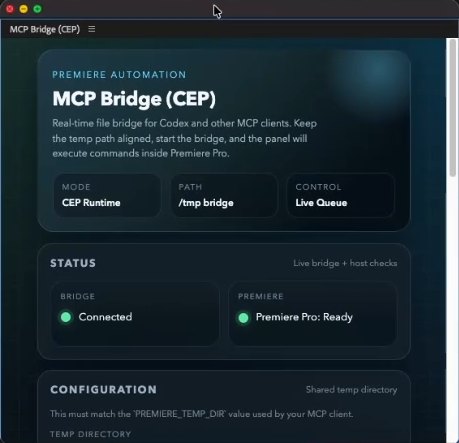
That panel is the bridge between Claude and Premiere. Temp Directory should read:
/tmp/premiere-mcp-bridgeThe bridge starts on its own. If Status shows “Connected” and “Premiere Pro: Ready”, you're done. The Start Bridge button is greyed out because the bridge is already running: that's normal, leave it alone.
The test
Go back to Claude and ask for a check only, without touching the project:
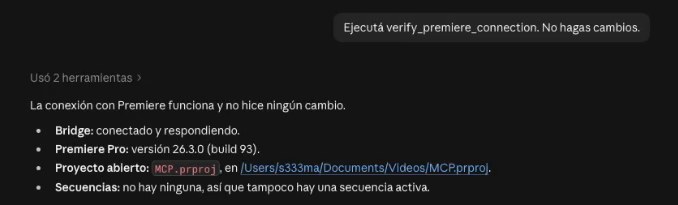
Run verify_premiere_connection. Don't make any changes.
It should return your Premiere version, the open project and the sequence. In my case it confirmed the connection worked, with Premiere 26.3.0 and the project MCP.prproj. If you see that, Claude is inside Premiere and can edit for you, or with you.
The demo
With the connection confirmed, I tried two requests on a sequence with several raw clips:
Add a cross dissolve at every cut on video track 1.
Claude inspected the track, counted the cuts and applied the transition to each one. The dissolves showed up on the timeline.
Make the middle clip black and white.
It picked the middle clip on the track, applied the Black & White effect, and Premiere confirmed the change.
Each request shows up on the timeline right away. And if you don't like the result, you tweak it by hand like any other transition or effect.
What didn't go well
This isn't magic, and it helps to know where it gets stuck:
- The EACCES error. If you install the connector without the first line from Step 1, npm can fail on permissions when installing into a system folder. The fix is that line: it creates
~/.npm-global, uses it as the target and adds it to yourPATH. You run it once. - The greyed-out Start Bridge button. It looks like something failed, but no: the bridge is already on. What matters is “Connected” and “Premiere Pro: Ready”.
- Transitions sometimes aren't confirmed. Premiere accepts the request but doesn't give Claude proof that the transition was applied. It happened to me: Claude said it couldn't confirm it, and the dissolves were on the timeline. When that happens, check the timeline yourself instead of asking it to blindly repeat the edit.
- The panel has to stay open. If you close the MCP Bridge window, Claude can no longer reach Premiere. Keep it open while you work.
- Premiere in another language. My Premiere is in Spanish, so effects and transitions have translated names and Claude has to translate every request. It works, but an English Premiere means less friction.
- Tested on Mac. I tested all of this on macOS. The process may differ on Windows.
- Work on a copy of your project. Especially for client work: keep the original untouched and connect Claude to a duplicate. If something goes wrong, you have something to go back to.
One more thing: by default the panel has Share anonymous usage data checked, which sends anonymous data about how you use the connector. If you'd rather not share it, uncheck it.
Resources
- Adobe Premiere Pro MCP connector (GitHub): https://github.com/hetpatel-11/Adobe_Premiere_Pro_MCP
- Node.js: https://nodejs.org
- Claude Desktop: https://claude.ai/download
- The video for this tutorial (in Spanish): Claude edita mis videos en Premiere
Why it's worth it
Setup takes three steps and one button, and from then on repetitive timeline work is a one-sentence request. It doesn't replace your editing judgment: it saves you hours of clicking. And it's the foundation for giving Claude style and pacing references it can apply.
Frequently asked questions
Does it work on Windows?
Everything the article shows I tested on macOS. The process may differ on Windows and I did not test it, so I cannot promise it works the same.
Do I have to pay for anything to connect Claude to Premiere?
The article does not talk about costs, so I cannot state that. What it does say is what you need: Premiere Pro 2020 or later, Node.js 20 or later and Claude Desktop. The connector installs with npm install -g adobe-premiere-pro-mcp and its code is on GitHub. Which Premiere or Claude plan is required I did not evaluate here.
Which version of Premiere Pro do I need?
Premiere Pro 2020 or later, together with Node.js 20 or later and Claude Desktop. In my test, Claude returned Premiere 26.3.0 and the MCP.prproj project.
What if something goes wrong?
Four cases are documented. If npm fails with the EACCES error, run the first line of Step 1 once. If the Start Bridge button is greyed out, that is normal: what matters is that the panel says “Connected” and “Premiere Pro: Ready”. If Claude cannot confirm a transition, check the timeline yourself instead of asking it to repeat the edit blindly. And if you close the MCP Bridge panel, Claude can no longer reach Premiere. If --doctor fails for another reason, the article does not cover it. It is best to always work on a copy of the project.
Want this system built for your brand, or want to learn to set it up yourself?
AI content productionSee packages and prices